While we’d like to give credit to the tiny elves that make our shoes, the truth isn’t quite that magical (though the results certainly are!). WP SmartCrop has a fairly simple workflow, that even novice users can get behind.
Example: These are the CSS rules we use to style the featured images you see on each page of the site
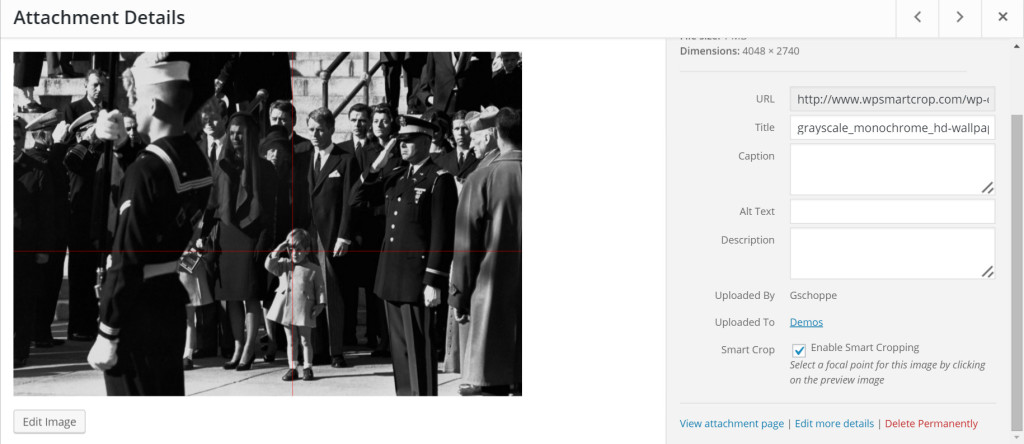
- Upload Your Image – Just use the media library to upload your images, as usual.
- Enable Smart Cropping – Because some images (like logos) just shouldn’t be cropped
- Choose The Image’s Focal Point – Click on the preview image to select the most important part of the image.
- Insert the Image – The image can be inserted as usual, or can be used in most WordPress image areas (like featured images), so long as the image size inserted is not cropped.
- Style Away! – WP SmartCrop will automatically add the wpsmartcrop-image class to all processed images. To style safely, just target this class with your CSS.
Example: These are the CSS rules we use to style the featured images you see on each page of the site
/*
  This is the old way to constrain an image to a fixed height.
  it crops the bottom of the image away, and fails to handle
  images less than 250px high.  We keep these styles in case we
  ever wanted to disable the plugin, but they are unnecessary
  for WP SmartCrop to function properly.
*/
.entry-content-thumbnail {
	height: 250px;
	overflow: hidden;
}
.entry-content-thumbnail img {
	display: block;
	width: 100%;
}
/*
  These are the styles we use to format our featured images.
  You could just as easily use max-width, max-height,
  min-width, min-height, or any other css.  WP SmartCrop is
  very forgiving.
*/
.entry-content-thumbnail img.wpsmartcrop-image {
	/* display: block; - unnecessary, in this case, because of the inherited style above */
	/* width: 100%; - unnecessary, in this case, because of the inherited style above */
	height: 250px;
}